
DIY Fire Extinguisher Experiment for Kids
by Science Explorers | Feb 17, 2020 | Blog | 0 comments

Did you know that your household fire extinguisher uses chemicals and carbon dioxide to put out large fires? Let’s learn how it works with our fire extinguisher experiment for kids!
You can use basic household supplies to create enough carbon dioxide to put out a small flame. You will need adult supervision and an excitement about science!
Before You Get Started
Keep these tips in mind as you and your child prepare for this fire extinguisher experiment:
- Fire safety should be taken very seriously. Make sure your child is supervised at all times.
- Due to the chemicals in the fire extinguisher and the open flame, it may not be safe for young children to participate in the experiment. But they can still watch the magic of science happen!
- Do not add too much vinegar to the container. Allow room for the baking soda to prevent the pressure from building too much.
- Handle the container carefully to avoid losing the carbon dioxide.
- Carbon dioxide is colorless and odorless. You will not be able to see it come out of the container, but you will definitely notice what it does!
Ingredients
- Clear jar or bottle (with a hole punched in the lid)
- Baking soda
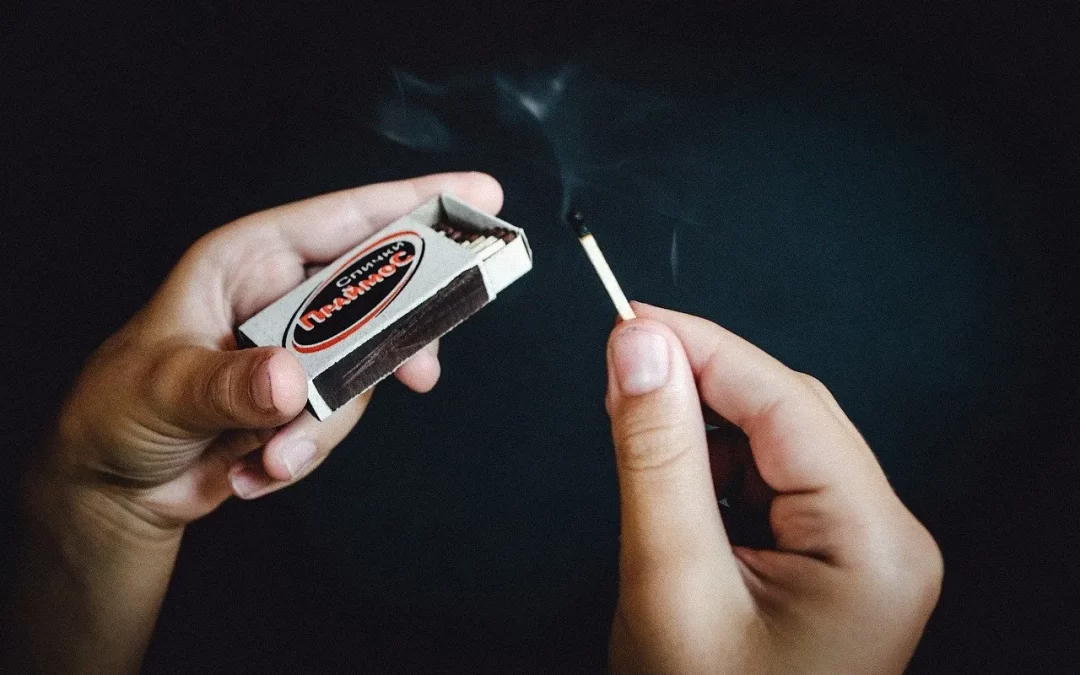
- Matches or lighter
- Paper towels
- Set a paper towel underneath the jar to catch any ingredients that spill over.
- Pour the vinegar into the jar until it is halfway full.
- Drop a spoonful of baking soda into the glass. If you are using a lid, screw it on.
- While the mixture bubbles and foams, light the candle with your matches or lighter.
- Put the container next to the flame. Pour out the gas, but not the liquid. If using a lid with a hole, aim the hole at the flame.
- Be amazed as the candle goes out!
- Clean up any spills with the paper towels.
The Science Behind Fire Extinguishers
In this experiment, we produced a chemical reaction. We made carbon dioxide, which weighs more than oxygen. Fire needs oxygen and fuel to burn. Taking just one of these things away will make the fire go out. When we placed the carbon dioxide over the flame, the carbon dioxide replaced the oxygen. This caused the fire to die because it was not getting oxygen.
Now, try different things with these instructions and see what happens! Try different amounts of vinegar and baking soda to get more carbon dioxide. You may try using a smaller bottle. This allows less room for carbon dioxide, which will increase the pressure and make it shoot further. If you want to aim the fire extinguisher in a specific place, put a straw in the hole of your lid and secure it with duck tape.
Try More Cool Experiments With Science Explorers
If your child enjoyed this DIY fire extinguisher experiment, they can try many more with Science Explorers. We aim to make science fun and accessible to kids ages 4-11. Your child will learn more about science and get to take part in some pretty cool activities.
Science Explorers can help fuel your child’s love of science. Check out our website for more information about our summer science camps and after school science clubs.
Recent Posts
- STEM Classroom Activities With Gingerbread
- How to Explore Science at the Playground
- Guide to Funding a School STEM Program
- 5 Earth Science Experiments: Safe, Exciting and Educational
- Beach STEM Activities
Recent Comments
- Earth Science
- Physics & Engineering
- Science Kits
- Microscopes
- Science Curriculum and Kits
- About Home Science Tools
Science Projects > Chemistry Projects > How To Make a Fire Extinguisher
How To Make a Fire Extinguisher
What you need:.
- Empty soda bottle
- 5 tablespoons of vinegar
- 1/2 tablespoon of baking soda
- Tea light candle

What You Do:
Ask an adult for permission before lighting the candle!
1. Light the candle.
2. Pour the vinegar into the bottle and add the baking soda. (You may want to use a funnel.) The mixture should fizz.
3. Hold the bottle sideways over the lighted candle, making sure no liquid escapes. What happens to the flame?
What Happened:
The baking soda and vinegar react to make carbon dioxide, a gas that is heavier than oxygen. As it ‘pours’ out of the bottle, it pushes the lighter oxygen away from the candle. The fire, now deprived of oxygen, can no longer burn.
Welcome! Read other Chemistry articles or explore the rest of the Resource Center, which consists of hundreds of free science articles!
Shop for Chemistry Supplies!
Home Science tools offers a wide variety of Chemistry products and kits. Find affordable beakers, test tubes, chemicals, kits, and everything else you need for lab experiments.
Related Articles

Thanksgiving Science Projects eBook
Fun & Easy Science Activities Your Kids Will Love!

10 Science Experiments You Want To Do This Year
Science experiments are one of the most exciting things you can do in your homeschool or classroom! We've put together some thrilling - yet easy - science experiments for you and your kids to do this year. Please remember to keep safety first and protect...

Leaf Chromatography Experiment
To get started with this leaf chromatography experiment, let's first start with the basics of how leaves get their colors. Leaves contain different pigments, which give them their color. Green chlorophyll is the most common type of pigment, but there are also...

Fireworks Glasses Science Project
Take your next fireworks or light show to the next level with DIY fireworks (or rainbow) glasses made from diffraction grating.

Candy Chromatography Project + Video
Discover the colors behind the colors of popular candies with a Candy Chromatography Science Project. First you'll learn what chromatography means. Then you'll use a candy chromatography science experiment to test two types of candy. Find out if there are other colors...
JOIN OUR COMMUNITY
Get project ideas and special offers delivered to your inbox.

IMAGES
VIDEO